Make in India Certificate
Get your Make in India Certificate seamlessly with RegisterKaro’s expert assistance. Ensure compliance, boost credibility for tenders and GeM, and confidently showcase your product’s Indian origin.

What is the Make in India Certificate?
The Make in India Certificate is a document that shows a product is made or manufactured in India. This certification is awarded to businesses that comply with the guidelines of the 'Make in India' initiative, launched by the Indian Government in 2014 to promote local manufacturing and support the Indian economy.
This certificate helps companies show that their products are made in India, which can be useful for getting government projects, tenders, or building trust with Indian customers. These declarations are often checked and verified by third-party agencies like QCI (Quality Council of India) or other approved agencies, especially when applying for government projects or tenders.
Note: The Make in India Certificate is not an official certificate issued by the Government of India. Instead, businesses submit self-declarations or local content certificates under the PPP-MII policy (Public Procurement – Make in India).
Who is Eligible for the Make in India Certificate?
To get the Make in India (MII) Certificate under Public Procurement Policy (PPP-MII), a business must manufacture its products in India. Based on how much of the product is made using Indian materials, labour, or processes, the government has divided suppliers into three main categories:
1. Class-I Local Supplier
This category includes businesses that use 50% or more Indian content in their products.
- They are given first preference in government contracts and tenders.
- Most public sector projects encourage purchases only from Class-I suppliers.
- To qualify, businesses must show proper records like bills, raw material sources, and manufacturing details.
2. Class-II Local Supplier
These are businesses that use 20% to less than 50% Indian content in their products.
- They are allowed to participate in government tenders, but only if Class-I suppliers are not available or don’t meet the requirement.
- They must still prove their Indian content with the right documents and certificates.
3. Non-Local Supplier
Suppliers who use less than 20% Indian content are considered non-local.
- They are usually not eligible for benefits under the Make in India program.
- In most cases, they cannot bid for government tenders focused on Indian-made goods.
Note:
- For contracts below Rs. 10 crores, businesses can give a self-certificate.
- For contracts above Rs. 10 crores, they need a certificate from a statutory auditor or cost auditor.
How to Calculate Your Local Content Percentage for the Make in India Certificate?
To apply for the Make in India Certificate, you need to know how much of your product is made using Indian materials and processes. This is called your Local Content Percentage. It helps decide whether you are a Class-I, Class-II, or Non-Local Supplier.
Formula for Local Content Calculation
The Government uses a simple formula to find out the local content:
Local Content (%) = (Value of Indian Parts ÷ Total Product Cost) × 100
- Value of Indian Parts: It includes all raw materials, parts, labor, and services used in India to make the product.
- Total Product Cost: This is the full cost of making the product, including both Indian and foreign parts.
Note: This calculation is done as per DPIIT guidelines under the Public Procurement (Preference to Make in India) Order 2017.
Example:
Let’s say the total cost of your product is Rs. 1,00,000.
Out of this, Rs. 60,000 is spent on Indian parts and labour.
Local Content = (60,000 ÷ 1,00,000) × 100 = 60%
This means your product has 60% Indian content, and you qualify as a Class-I Local Supplier.
What Counts as "Value Added in India"?
Understanding what qualifies as 'Value Added in India' is key to calculating your local content accurately. This value shows how much work, material, and cost go into making your product within India. The higher the Indian value-added content, the more benefits you get under the Make in India policy.
1. Cost of Indian Raw Materials
All raw materials produced, mined, or sourced within India are included.
Examples:
- Steel, aluminum, plastics, or chemicals are made in Indian factories.
- Grains, cotton, herbs, or oils are grown in India.
- Minerals and ores mined in India.
Note: Imported raw materials do not count toward value added.
2. Manufacturing, Processing & Assembling in India
Any physical work done on the product inside India adds to the value.
This includes:
- Assembling components
- Cutting, welding, moulding
- Painting or coating
- Packing and final testing
Note: Even if the parts are imported, the work done on them in India counts as value added.
3. Indian Labour and Wages
Wages paid to Indian employees and workers, including daily wage workers, factory staff, engineers, or supervisors, are counted.
This includes:
- Full-time or contract-based workers
- Payroll expenses and contractor payments
4. Cost of Indian Services Used
Services hired from Indian companies or professionals can be added.
Examples include:
- IT services and software development
- Product designing and engineering
- Logistics, warehousing, and quality testing
- Legal and accounting services
5. Indian Overhead and Utility Costs
Any business expenses paid in India that are part of the product’s cost can be included, such as:
- Electricity, water, and gas are used in factories
- Rent or lease of Indian offices or units
- Machinery maintenance
- Telephone, internet, and admin charges
Note: Local content calculations are subject to audit. Providing incorrect information can lead to disqualification or being blacklisted from government tenders.
Documents Required for Make in India Certificate
To apply for a Make in India Certificate, businesses must submit certain documents that prove their product is genuinely manufactured in India.
1. Company Registration Proof
You need to show that your business is officially registered in India. You can submit any of the following:
- GST Registration Certificate
- Udyam/MSME Registration
- Company Incorporation Certificate (CIN)
- PAN Card of the business
2. Product Details
Provide complete information about the product you want to certify, including:
- Product name and model
- Technical specifications
- Product photographs
- Product brochure (if available)
3. Manufacturing Process Report
Give a clear explanation of how the product is made in India. This should include:
- Step-by-step manufacturing or assembly process
- Location of manufacturing unit(s)
- List of machines and tools used
- Flowchart of production (optional but useful)
4. Cost Breakdown and Local Content Calculation
You must submit a cost sheet showing how much of the product is made using Indian inputs. Include:
- Cost of Indian raw materials
- Labour costs within India
- Cost of Indian services (design, testing, packaging, etc.)
- Total product cost
- Final local content percentage with formula
5. Bills and Invoices
Submit copies of bills to prove the purchase of Indian materials and services. These may include:
- Purchase invoices for raw materials
- Salary slips or wage records of workers
- Bills from Indian service providers (transport, logistics, etc.)
- Utility bills (electricity, water used in production)
6. Employee and Labour Details
Details of Indian employees involved in production, such as:
- Number of workers
- Types of roles (skilled/unskilled)
- Salary or wages paid
- Employment contracts (if available)
7. Utility and Overhead Proof
These documents support your claim of production being done in India:
- Electricity and water bills of the factory
- Rent agreement or ownership proof of the manufacturing unit
- Internet, telephone, or other operational bills
8. Self-Declaration or Affidavit
You must provide a signed declaration stating that:
- All information provided is true
- The product meets the required local content
- All supporting documents are genuine
This declaration should be signed by the company’s authorized signatory and may need to be notarized, depending on the agency.
How to Get a Make in India Certificate?
Obtaining your Make in India certificate involves a clear, multi-step process to verify your product's local content. This helps prove that your product is made in India and meets the government’s requirements.
Step 1: Choose the Product You Want to Certify
Start by identifying the specific product or group of products for which you want the certificate. Make sure these products are genuinely manufactured, assembled, or processed in India. You can apply for one product or multiple products, depending on your business operations.
Step 2: Understand the Local Content Requirement
Before applying, it's important to know how much of your product is made in India. This is called your Local Content Percentage. The government has set three categories based on this:
- Class-I Local Supplier: 50% or more of the product is made in India.
- Class-II Local Supplier: Between 20% and 50% is made in India.
- Non-Local Supplier: Less than 20% is made in India (not eligible for benefits).
You must meet at least 20% local content to qualify for the certificate.
Step 3: Calculate the Local Content
To find out your local content, you need to calculate the percentage of Indian value added to your product. Use this simple formula:
Local Content (%) = (Value of Indian Content ÷ Total Cost of Product) × 100
In Indian content, include:
- Cost of Indian raw materials
- Labour and wages paid in India
- Local manufacturing or assembly costs
- Indian service expenses like design, transport, testing, etc.
Be sure to exclude any imported materials, foreign labour, or overseas services from the calculation.
Step 4: Prepare the Necessary Documents
Once you have your local content percentage, gather all the documents needed to support your application. These include:
- Business registration proof (GST, PAN, MSME/Udyam certificate).
- Product details such as description, specifications, and photos.
- Detailed cost sheet showing Indian and total costs.
- Invoices or bills for Indian raw materials and services used.
- Proof of Indian labour, such as salary slips or contractor agreements.
- Utility bills like electricity or water are used in manufacturing.
- A declaration or affidavit stating that all details provided are correct.
Make sure all documents are accurate and up-to-date, as they will be verified by the certifying agency.
Step 5: Fill Out the Application Form
Get the official Make in India Certificate application form from an authorized body such as the Quality Council of India (QCI) or another approved certification agency. Fill in your business details, product name, manufacturing location, and calculated local content percentage. Double-check all information before submitting.
Step 6: Submit the Application to the Agency
Once your form and documents are ready, submit them to the certifying authority. Some agencies allow online submissions through their portal, while others may require offline/physical submission. Follow the instructions given by the specific agency you are applying to.
Step 7: Await Verification and Inspection
After submission, the agency will review your documents. In many cases, they may also conduct a physical inspection of your factory or manufacturing unit to confirm that production is taking place in India as claimed. They will verify your processes, raw materials, machines, workforce, and records.
Step 8: Receive Your Make in India Certificate
If your application is approved after verification, the agency will issue your Make in India Certificate. This document officially certifies that your product meets the required Indian content standards. You can now use this certificate for participating in government tenders, supplying to public sector companies, and promoting your product as "Made in India".
The certificate is usually valid for 1 to 3 years, depending on the certifying body’s rules. You should track its validity and apply for renewal before it expires to continue enjoying the benefits.
Make in India Certification Fees
The certification involves costs for CA verification, document preparation, and professional services.
Here's a quick fee breakdown:
| Service Component | Estimated Fee (INR) | Description |
| CA Certification Charges | 2,000 – 5,000 | Cost for getting local content verified by a CA |
| Document Preparation Fee | 1,000 – 3,000 | Charges for application and document compilation |
| Government Processing Fee | Free / Nil | As of now, there is no specific government fee |
| Service Provider/Consultant Fee | 3,000 – 7,000 | If applying through a third-party agency like RegisterKaro |
Make in India Certificate Validity & Renewal
- Validity: The Make in India Certificate is typically valid for 1 year from the date of issuance.
- Renewal Requirement: Once the certificate expires, you must apply for renewal with fresh documentation, including updated cost sheets and CA certification.
- Renewal Process:
- Recalculate local content.
- Get a fresh Chartered Accountant (CA) certification.
- Resubmit the application and documents to the issuing authority.
Tip: Start the renewal process 15–30 days before expiry to avoid any disruption in compliance or tender eligibility.
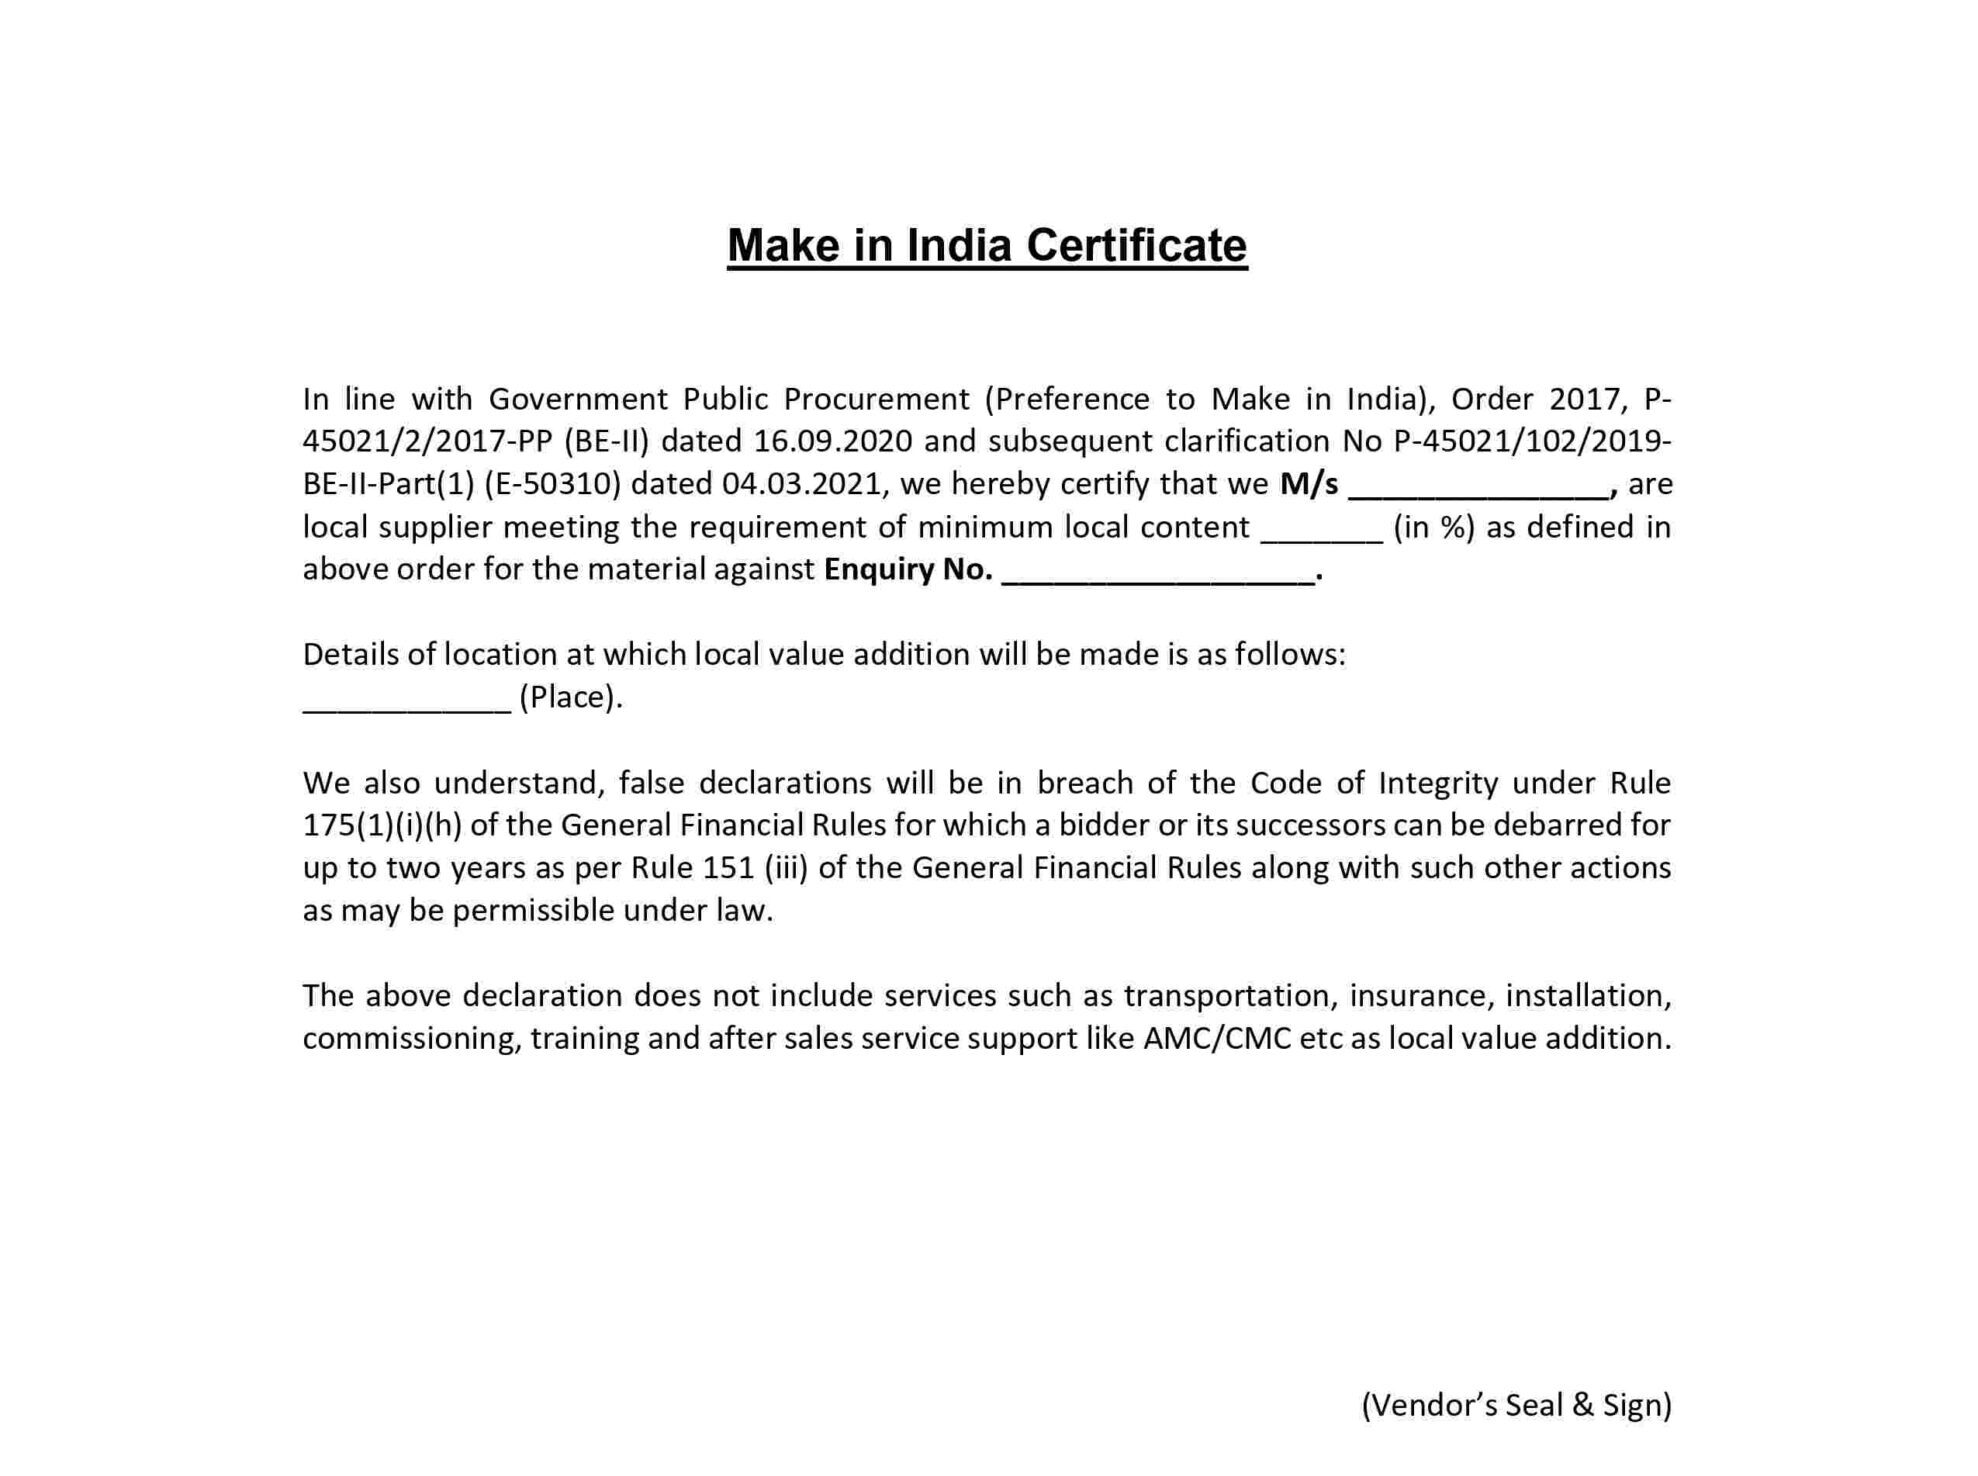
Make In India Certification Format
A typical Make in India Certificate includes the following elements:
- Certificate Number
- Issuing Authority (DGFT-approved agency)
- Name of Manufacturer / Exporter
- Description of Product
- HSN Code
- Country of Origin (India)
- Local Content (%)
- Authorized Signatory with Stamp
- Date of Issue & Expiry
How to Download the Make In India Certification?
You can download your Make in India Certificate in PDF format by:
- Logging into the official DGFT portal or authorized issuing agency.
- Navigate to your submitted application.
- Clicking the "Download Certificate" option.
- Save the file to your device.
Benefits of Having a Make in India Certificate
Getting a Make in India Certificate can be very helpful for your business. It proves that your product is made in India and shows your support for local manufacturing.
1. Helps in Government Tenders
Many government departments and public sector companies prefer to buy from Indian manufacturers. With this certificate, you can apply for such tenders more easily and get better chances of winning.
2. Builds Customer Trust
When people see that your product is certified as "Made in India", they are more likely to trust and buy from you. It shows that you support Indian jobs and local growth.
3. Improves Brand Image
Having this certificate makes your brand look more professional and reliable. It helps your business stand out, especially if you are in a competitive market.
4. Support in Public Procurement
Under government rules, Class-I Local Suppliers get priority in public projects and contracts. This can lead to more orders and long-term business opportunities.
5. Access to More Business Opportunities
Many private and international companies also prefer working with Indian-certified suppliers. The certificate can help you get more business partnerships and grow faster.
6. Shows Commitment to 'Atmanirbhar Bharat.'
This certificate proves that your business supports India’s mission of becoming self-reliant (Atmanirbhar Bharat). It shows that you are helping grow the Indian economy.
7. Marketing Advantage
You can proudly display the "Make in India" tag in your ads, product packaging, website, and social media. It gives a positive impression and can help increase your sales.
Connect with RegisterKaro and let our experts handle the legal hassle while you grow your business.
Frequently Asked Questions (FAQs)
Is the Make in India Certificate issued by the government?
−No, the Make in India Certificate is not directly issued by the government. It is usually issued by authorized certifying bodies, like the Quality Council of India (QCI) or other approved agencies. However, it is recognized and accepted by various government departments.
What is the difference between a Class-I and a Class-II local supplier?
+Is the MII certificate mandatory to sell on the GeM portal?
+How much does it cost to get a Make in India certificate?
+Do I need a CA certificate for every tender?
+What is the validity of the Make in India self-certification?
+Can a foreign company with a manufacturing unit in India apply?
+What are the penalties if my local content calculation is found to be incorrect?
+Is this certificate the same as getting permission to use the "Make in India" logo?
+Is there a separate Make in India registration certificate?
+What is a Make in India specific authorisation certificate?
+Is this the same as a quality certification?
+
Reviewed by
Joel DsouzaJoel Dsouza is a Chartered Accountant (CA) and compliance expert with over 7 years of hands-on experience in company registration, tax structuring, GST, ROC filings, and MCA compliance. As a qualified member of the Institute of Chartered Accountants of India (ICAI) and Co-Founder at RegisterKaro, he has personally advised more than 1,000 startups and SMEs across India, helping founders navigate incorporation, regulatory frameworks, and financial planning from Day 1. With deep expertise across all three levels of Finance and Portfolio Management, Joel is committed to promoting financial literacy and simplifying India's startup ecosystem through clear, actionable guidance that entrepreneurs can act on immediately.
Why Choose RegisterKaro for the Make in India Certification?
Getting a Make in India Certificate can be tricky if you’re doing it alone. RegisterKaro makes the process simple, fast, and stress-free.
- Expert Help to Calculate Local Content: Our experts simplify the local content calculation, ensuring you accurately determine your supplier class (Class-I or Class-II).
- Easy Documentation and No Mistakes: We help you collect all the needed papers like bills, cost sheets, and product details. Our experts fill out the form correctly so there are no errors or delays.
- Quick CA Certificate Support: We facilitate quick CA certifications from our network of trusted professionals, a key requirement for your application.
- Full Support for GeM and Tenders: After getting the certificate, we help you register on the Government e-Marketplace (GeM) and guide you in using it for tenders and public projects.

What Our Clients Say
View AllUKB Elevators Consul...
I recently created my OPC with RegisterKaro and had the pleasure of connecting with Tanvish Nagpal during the process. The entire experience was seaml... Read more
Preetam R
Rashmi Shrivastava was very helpfull in taking care of my company compliance, she is an asset to the team. All the required things has been taken car... Read more
Bobby Kushwaha
I haven't expected this much Smooth process from any other company but today when we connected from registerKaro I feel like this company is something... Read more
Mystic Matrix
Thank you to the entire Register Karo team for providing excellent professional services to me and my company. We truly appreciate your patience and s... Read more
Rajiv Whig
Register Karo has been a wonderful partner in my journey of incorporation of my company. Their meticulous and competent handling of all processes and... Read more
Jagadish Kumar
Has recently used RegisterKaro for registering our company. They do AtoZ to get it incorporated. Very much satisfied with their prompt and hassle free... Read more
Akshay Sharma
I had a great experience with RegisterKaro for my LLP registration. Ankita Matta was very helpful throughout the process, always available to answer m... Read more
Shivam Singh
I had a great experience with RegisterKaro for incorporating my Private Limited Company. The entire process was smooth and well-managed. Sumit, in par... Read more
Kancharana Revanth
RegisterKaro provided excellent support for my OPC registration. The team was professional and efficient in handling the documentation and process. I... Read more
Shourya Sharma
I recently partnered with Register Karo for my company incorporation, and the experience was smooth and hassle-free. Tanvish Nagpal and team was profe... Read more
Related Blogs
View All
How to Register DSC on the MCA V3 Portal?

What is the Difference Between Digital Signature and Digital Certificate?

How to Download a Digital Signature Certificate: Complete Guide 2026

Linear economy vs Circular Economy in EPR: What’s the Difference?

Step-by-Step Guide to DSC Login: Accessing Your Digital Signature Certificate Account

Understanding DSC And How To Apply: Full Form, Benefits, and Use Cases

How to Obtain CPCB EPR Registration?

How to Add a DSC in Trademark Registration: IP India Guide

Starting a Reprocessed Plastic Granules Business in India

How to File an EPR Application for Consumer Electronic Products: A Complete Guide